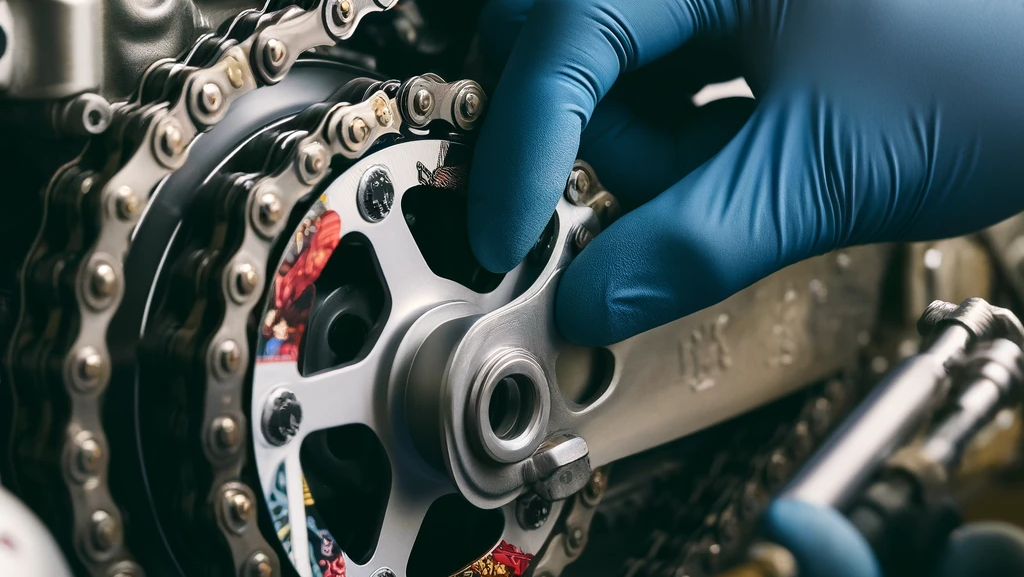
Maintaining your motorbike chain is crucial for both safety and performance. Neglecting this essential part can lead to a bumpy ride and even dangerous situations on the road. This guide will take you through everything you need to know about motorbike chain maintenance, from cleaning and lubricating to adjusting and inspecting for wear and tear.
Why Chain Maintenance Matters
Your motorbike chain is the critical link between the engine and the wheels, transferring power and ensuring smooth movement. Regular maintenance helps prevent premature wear, extends the life of the chain, and ensures a safer, more reliable ride.
Tools You’ll Need
Before you get started, gather the following tools:
- Chain cleaner or degreaser
- Chain brush or an old toothbrush
- Rags or paper towels
- Chain lubricant
- Motorcycle stand
- Wrench or socket set
- Measuring tape or ruler
Step-by-Step Chain Maintenance
1. Cleaning the Chain
A clean chain is a happy chain. Dirt and grime build-up can cause unnecessary wear and tear. Here’s how to clean it properly:
- Lift the Bike: Use a motorcycle stand to lift the rear wheel off the ground, ensuring stability.
- Apply Cleaner: Spray a generous amount of chain cleaner or degreaser onto the chain. Let it sit for a few minutes to break down the grime.
- Scrub the Chain: Use a chain brush or an old toothbrush to scrub the chain thoroughly, getting into all the nooks and crannies.
- Wipe Clean: Use rags or paper towels to wipe off the loosened dirt and cleaner.
2. Lubricating the Chain
Proper lubrication reduces friction and prevents rust. Here’s how to do it:
- Choose the Right Lubricant: Use a motorcycle-specific chain lubricant for the best results.
- Apply Lubricant: Spray the lubricant evenly on the inside of the chain while rotating the rear wheel to ensure even coverage.
- Let it Set: Allow the lubricant to penetrate the chain links for about 10-15 minutes before riding.
3. Adjusting Chain Tension
Incorrect chain tension can cause poor performance and increased wear. Here’s how to adjust it:
- Check the Tension: Refer to your motorcycle’s manual for the recommended chain slack. Measure the slack by pushing the chain up and down midway between the front and rear sprockets.
- Adjust if Necessary: Use a wrench to loosen the axle nuts. Adjust the chain tension by moving the adjuster bolts on either side of the swingarm.
- Re-check Tension: Ensure the slack is within the manufacturer’s specifications, then tighten the axle nuts securely.
Inspecting for Wear and Tear
Regular inspections can help catch issues early. Look out for these signs:
- Chain Stretch: Over time, chains stretch and lose tension. If you can pull the chain away from the rear sprocket and see daylight, it’s time for a replacement.
- Kinks and Stiff Links: Check for links that don’t move smoothly. Kinks or stiff links can indicate wear or rust.
- Excessive Wear on Sprockets: Examine the sprockets for worn, hooked, or damaged teeth. If they’re in bad shape, replace both the chain and sprockets.
Tips for Prolonging Chain Life
- Regular Cleaning: Clean your chain every 500-1000 miles or after riding in adverse conditions.
- Proper Lubrication: Lubricate the chain every 300-600 miles or after riding in wet conditions.
- Avoid Over-Tightening: Too tight a chain can cause unnecessary stress and wear.
- Check Alignment: Ensure the chain and sprockets are correctly aligned to prevent uneven wear.
Conclusion
Taking the time to look after your motorbike chain can significantly extend its lifespan and ensure a smoother, safer ride. Regular cleaning, proper lubrication, and timely adjustments are key to maintaining a healthy chain. By keeping an eye out for signs of wear and tear, you can address issues before they become major problems. Happy riding!

