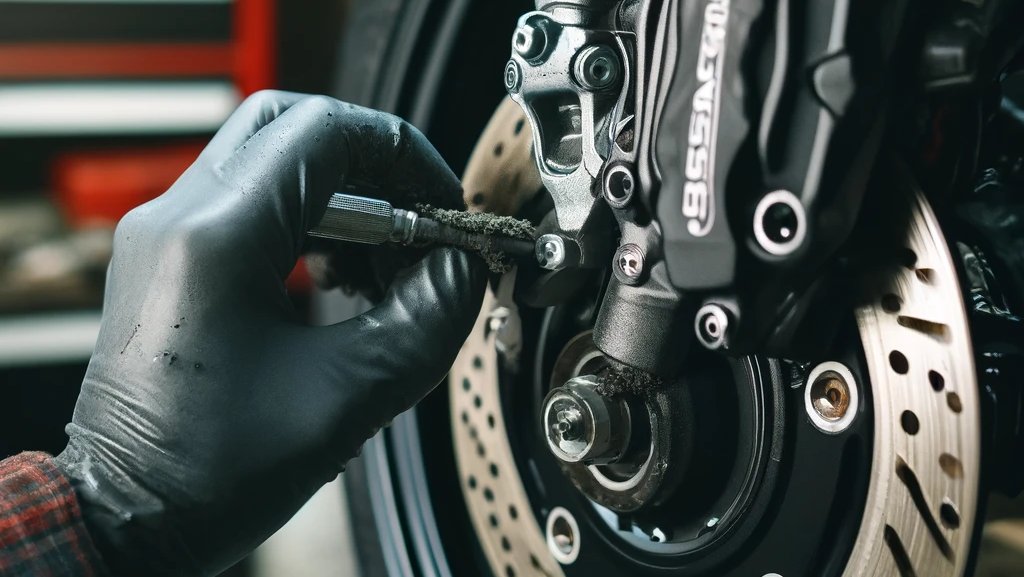
Keeping your motorbike’s brakes clean is essential for ensuring optimal performance and safety. Dirty brakes can reduce stopping power, increase wear, and even cause brake failure. Fortunately, cleaning your motorbike’s brakes is a straightforward process. Let’s walk through the steps to get your stoppers gleaming and ready for the road.
Why Cleaning Your Motorbike’s Brakes Is Important
Before diving into the how-to, let’s understand why it’s crucial to keep your brakes clean:
- Enhanced Performance: Clean brakes provide better stopping power, essential for your safety on the road.
- Prolonged Lifespan: Regular maintenance reduces wear and tear, extending the lifespan of brake components.
- Safety: Dirt and debris can cause brake failure, leading to dangerous situations. Clean brakes ensure reliable performance.
What You’ll Need
Gather these tools and materials before you start:
- Brake cleaner spray
- Clean cloths or rags
- A small brush (like a toothbrush)
- Allen keys or a wrench set (for caliper removal if needed)
- Safety gloves
- Protective eyewear
Step-by-Step Guide to Cleaning Your Motorbike’s Brakes
- Safety First: Ensure your bike is on a stable stand. Wear gloves and protective eyewear to avoid contact with brake cleaner and brake dust.
- Remove the Wheel (Optional): For thorough cleaning, you might want to remove the wheel. Use the appropriate tools to safely lift the bike and remove the wheel.
- Inspect the Brakes: Check the brake pads, discs, and calipers for wear and damage. If you notice any severe wear, consider replacing the components.
- Apply Brake Cleaner: Spray the brake cleaner generously on the calipers, pads, and discs. This will help dissolve grease, dirt, and brake dust.
- Scrub the Brakes: Use a small brush to scrub the calipers and discs. Pay attention to crevices and hard-to-reach areas where dirt accumulates.
- Wipe Clean: Use a clean cloth to wipe away the dissolved dirt and brake cleaner residue. Repeat the cleaning process if necessary.
- Check Brake Pads: If the pads are excessively dirty, remove them from the caliper. Clean them separately with brake cleaner and a cloth. Ensure they are dry before reinstallation.
- Reassemble (If Necessary): If you removed the wheel or brake pads, carefully reassemble everything. Make sure all bolts and components are securely fastened.
- Final Inspection: Double-check all components for cleanliness and proper installation. Spin the wheel (if removed) to ensure it moves freely without rubbing against the brake pads.
- Test Your Brakes: Before hitting the road, test your brakes at a low speed to ensure they are functioning correctly.
Tips for Maintaining Clean Brakes
- Regular Cleaning: Make brake cleaning a part of your regular maintenance routine. Depending on your riding conditions, aim for every few months.
- Avoid Contaminants: Keep oil, grease, and other contaminants away from your brake components. Use dedicated tools and cloths for brake cleaning.
- Inspect Frequently: Regularly check your brakes for signs of wear or damage. Early detection can prevent more significant issues down the line.
- Use Quality Products: Invest in a high-quality brake cleaner and other maintenance tools. Quality products can make a big difference in performance and longevity.

