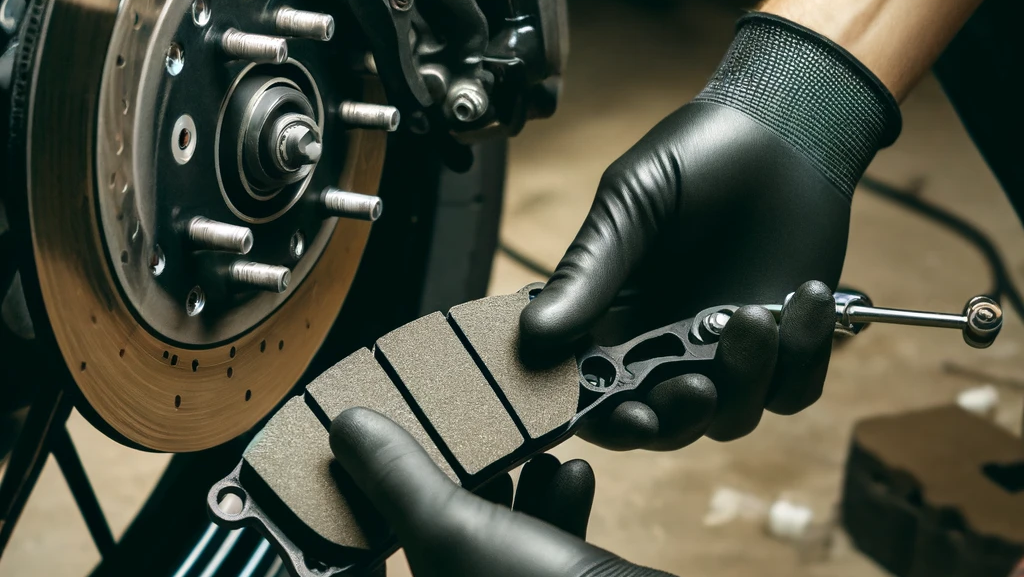
Are your brakes starting to squeak, or maybe your car’s stopping power isn’t what it used to be? It’s time to service your brakes and change those worn-out pads. This guide will walk you through everything you need to know to keep your vehicle’s braking system in top shape.
In this blog, we’ll cover why brake maintenance is crucial, how to know when it’s time to change your brake pads, and a step-by-step guide to doing it yourself. Let’s get your ride ready for the road!
The Importance of Regular Brake Maintenance
First off, let’s talk about why regular brake maintenance is a big deal. Your brakes are, without a doubt, one of the most critical safety features in your vehicle. Neglecting them can lead to poor performance, increased stopping distances, and even brake failure. Regular maintenance ensures:
- Safety: Properly maintained brakes can prevent accidents.
- Performance: Well-functioning brakes ensure optimal stopping power.
- Cost Savings: Regular checks can catch problems early, avoiding expensive repairs.
Signs It’s Time to Change Your Brake Pads
Knowing when to change your brake pads can save you a lot of trouble. Here are some telltale signs:
- Squeaking or Squealing Noise: This usually means your brake pads are worn out and need replacing.
- Grinding Sound: If you hear grinding, it’s likely that your brake pads are completely worn out, and you’re now damaging the rotors.
- Longer Stopping Distance: If it takes longer for your vehicle to come to a stop, it’s a clear sign your brake pads might be worn.
- Vibration: If you feel a vibration when braking, it could indicate warped rotors or worn-out brake pads.
- Brake Pad Indicator Light: Some vehicles have a warning light on the dashboard that illuminates when your brake pads need replacing.
Step-by-Step Guide to Servicing Your Brakes and Changing Brake Pads
What You’ll Need:
- New brake pads
- Jack and jack stands
- Lug wrench
- C-clamp
- Wrench set
- Brake fluid
- Brake cleaner
- Gloves and safety glasses
Step 1: Prepare Your Vehicle
- Park Safely: Ensure your vehicle is on a level surface. Engage the parking brake.
- Loosen the Lug Nuts: Before jacking up the car, loosen the lug nuts on the wheels where you’ll be working.
Step 2: Lift the Car
- Jack Up the Vehicle: Use a jack to lift your car and secure it with jack stands. Never rely solely on the jack.
- Remove the Wheels: Take off the wheels to access the brake components.
Step 3: Remove the Old Brake Pads
- Locate the Brake Caliper: The brake caliper is the part that squeezes the brake pads against the rotor.
- Remove the Caliper Bolts: Use a wrench to remove the bolts holding the caliper in place.
- Lift the Caliper: Carefully lift the caliper off the rotor. Do not let it hang by the brake line; use a piece of wire to hang it from the suspension.
- Remove the Old Brake Pads: Slide out the old brake pads from the caliper bracket.
Step 4: Install the New Brake Pads
- Prepare the Caliper: Use a C-clamp to compress the caliper piston back into its housing. This makes room for the new brake pads.
- Insert the New Pads: Place the new brake pads into the caliper bracket.
- Reinstall the Caliper: Position the caliper over the new brake pads and secure it with the bolts.
Step 5: Reassemble and Test
- Reattach the Wheels: Put the wheels back on and hand-tighten the lug nuts.
- Lower the Vehicle: Carefully lower your car to the ground using the jack.
- Tighten the Lug Nuts: Fully tighten the lug nuts in a star pattern to ensure even pressure.
- Test the Brakes: Before driving, pump the brake pedal a few times to ensure the pads are properly seated and the brakes are working.
Tips for Keeping Your Brakes in Top Condition
- Regular Checks: Inspect your brakes regularly for wear and tear.
- Brake Fluid: Keep an eye on your brake fluid levels and top up as necessary.
- Listen to Your Car: Pay attention to any unusual noises when braking.
- Professional Inspection: Have your brakes professionally inspected at least once a year.

