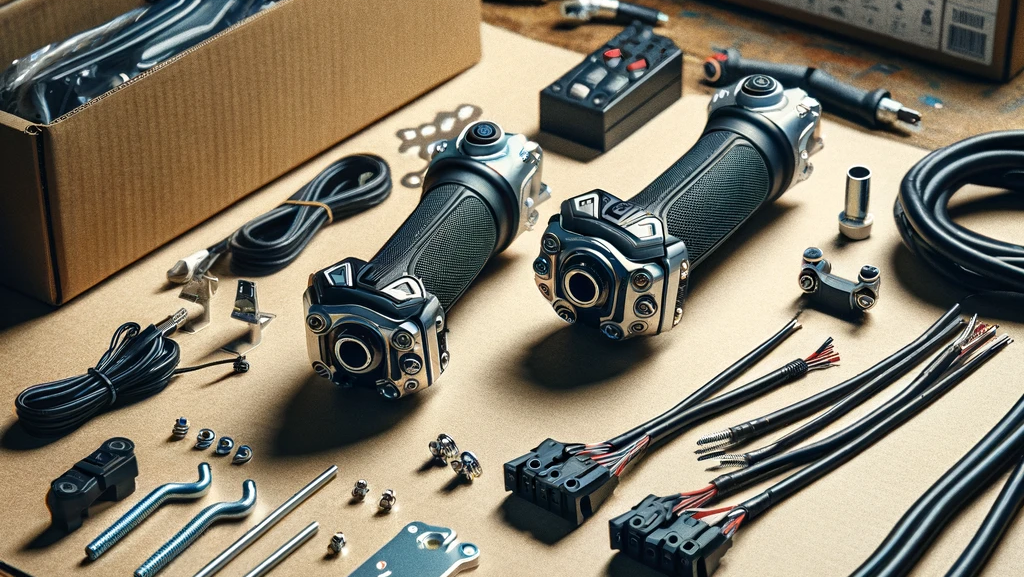
Introduction
Ever found your hands freezing on those early morning rides? Heated grips might just be your new best friend. They’re a game-changer for riders who brave the cold, offering warmth and comfort when you need it most. But how do you fit them yourself? Well, you’re in luck! This guide will walk you through the process, step by step.
Why Install Heated Grips?
Before diving into the nitty-gritty, let’s chat about why heated grips are worth the investment. They extend your riding season, improve comfort, and even enhance safety by keeping your hands nimble and responsive. Plus, they’re pretty straightforward to install with the right tools and a bit of patience.
Tools and Materials Needed
Before you get started, make sure you have the following:
- Heated grip kit
- Screwdriver set
- Allen wrenches
- Wire cutters and strippers
- Electrical tape
- Zip ties
- Multimeter (optional but helpful)
- Motorcycle maintenance stand (optional for stability)
Step-by-Step Guide to Fitting Heated Grips
1. Prepare Your Workspace
Start by parking your motorcycle on a stable surface, preferably using a maintenance stand. This ensures the bike won’t tip over during the installation. Turn off the ignition and disconnect the battery to avoid any electrical mishaps.
2. Remove Existing Grips
Use a screwdriver to carefully lift the edge of the existing grips. Spray a bit of soapy water or use compressed air to ease them off without damaging the handlebars. Take your time with this step to avoid scratching your handlebars.
3. Install the Heated Grips
Slide the new heated grips onto the handlebars. If they’re tight, a little bit of rubbing alcohol can help them slide on more easily. Make sure they’re aligned properly and fit snugly.
4. Connect the Wiring
Follow the instructions in your heated grip kit for wiring. Generally, you’ll run wires from the grips to the motorcycle’s battery. Use wire cutters and strippers to trim and prepare the wires as needed. Connect the positive and negative wires to the corresponding battery terminals. Use electrical tape to secure any exposed connections.
5. Secure the Wires
Route the wires along the handlebars and frame, using zip ties to keep everything neat and out of the way. Ensure the wires won’t interfere with any controls or moving parts. This step is crucial for both safety and aesthetics.
6. Install the Controller
Most heated grips come with a control unit to adjust the temperature. Mount this in an easily accessible location on your handlebars. Follow the specific instructions provided with your kit for mounting and wiring the controller.
7. Reconnect the Battery
Once everything is connected and secured, reconnect your motorcycle’s battery. Double-check all your connections and ensure everything is tight and secure.
8. Test the Grips
Turn on the ignition and test the heated grips. Check that they heat up as expected and that the controller adjusts the temperature correctly. Use a multimeter to check the voltage if you’re having issues.
9. Final Adjustments
Make any necessary adjustments to ensure the grips are comfortable and all wiring is secure. Tidy up any loose ends with additional zip ties or electrical tape.
Tips for a Smooth Installation
- Read the Manual: Always refer to the specific instructions that come with your heated grips. Different models may have slightly different installation procedures.
- Take Your Time: Rushing can lead to mistakes. Set aside a couple of hours to complete the installation without stress.
- Double-Check Connections: Loose or incorrect connections can cause malfunctions. Be thorough in checking all your wiring.

