Regular maintenance is key to keeping your motorbike running smoothly and prolonging its lifespan. One of the most important tasks in bike maintenance is changing the oil and filters. Whether you’re a seasoned rider or new to the world of motorcycles, this guide will walk you through the process of changing your motorbike oil and filters with ease.
Why Changing Oil and Filters is Important
Motorbike engines are high-performance machines that require clean oil to function correctly. Over time, oil breaks down and becomes contaminated with dirt and debris, which can cause engine wear and reduce performance. Regularly changing the oil and filters ensures that your engine stays lubricated, clean, and running efficiently.
What You’ll Need
Before you start, gather the following tools and materials:
- New oil filter
- New oil (check your bike’s manual for the recommended type and quantity)
- Oil filter wrench
- Socket wrench set
- Drain pan
- Funnel
- Clean rags or paper towels
- A pair of gloves
- A bike stand (optional but helpful)
Step-by-Step Guide
1. Warm Up the Engine
First, start your bike and let it run for a few minutes. This warms up the oil, making it thinner and easier to drain. Be careful not to let the engine get too hot – a few minutes should suffice.
2. Position the Bike
Place your bike on a stable stand or use the kickstand if a stand isn’t available. Ensure the bike is secure and won’t tip over while you’re working.
3. Locate the Drain Plug and Oil Filter
Consult your bike’s manual to locate the oil drain plug and oil filter. These are typically found on the underside of the engine.
4. Drain the Old Oil
Position the drain pan under the drain plug. Using a socket wrench, carefully remove the drain plug and let the old oil flow into the pan. Be cautious of hot oil and avoid getting it on your skin.
5. Remove the Old Oil Filter
While the oil is draining, use the oil filter wrench to remove the old oil filter. Be prepared for some oil spillage when you remove the filter.
6. Prepare the New Oil Filter
Take the new oil filter and apply a small amount of fresh oil to the rubber gasket. This helps create a better seal and makes it easier to remove next time.
7. Install the New Oil Filter
Screw the new oil filter onto the engine by hand. Tighten it securely but avoid over-tightening, as this can damage the gasket.
8. Replace the Drain Plug
Once all the old oil has drained out, clean the drain plug and the area around it. Reinstall the drain plug, tightening it securely with your socket wrench.
9. Add New Oil
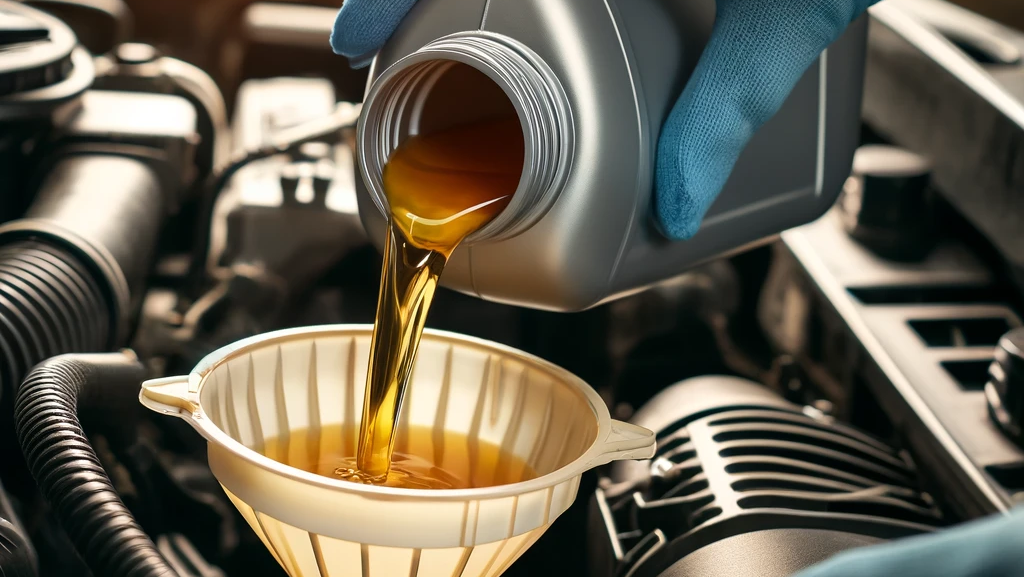
Using a funnel, pour the recommended amount of new oil into the oil filler hole. Check your bike’s manual for the exact oil capacity and type.
10. Check the Oil Level
After adding the oil, wait a few minutes for it to settle. Use the dipstick or sight glass to check the oil level. Add more oil if necessary, but do not overfill.
11. Dispose of Old Oil and Filter
Properly dispose of the old oil and filter according to local regulations. Many auto parts stores and service stations accept used oil and filters for recycling.
FAQs
How often should I change my motorbike oil and filters?
It varies by manufacturer, but a good rule of thumb is every 3,000 to 5,000 miles or every six months, whichever comes first. Always refer to your bike’s manual for specific intervals.
Can I use car oil in my motorbike?
No, car oil and motorbike oil have different formulations. Always use the oil specified in your bike’s manual.
What should I do if I overfill my oil?
If you overfill the oil, drain the excess until the level is correct. Overfilling can cause engine damage.
Conclusion
Changing your motorbike oil and filters is a straightforward task that can significantly impact your bike’s performance and longevity. By following this guide, you’ll save money on mechanic fees and gain a better understanding of your bike’s maintenance needs. So, next time your bike is due for an oil change, you’ll be ready to handle it like a pro!

