Changing your motorbike’s brake fluid is essential for maintaining optimal braking performance and ensuring your safety on the road. In this comprehensive guide, we’ll walk you through the steps needed to change your bike’s brake fluid, ensuring your ride is always in top shape. Ready to dive in and learn how to keep your brakes in perfect condition? Let’s get started!
Why Changing Brake Fluid is Crucial
Brake fluid plays a critical role in your motorbike’s braking system. It transmits the force created when you press the brake lever, converting it into pressure that applies the brakes. Over time, brake fluid can absorb moisture from the air, leading to a decrease in performance and potentially causing brake failure. Regularly changing your brake fluid helps maintain optimal performance and ensures your safety.
Tools and Materials Needed
Before you start, gather the following tools and materials:
- New brake fluid (check your bike’s manual for the recommended type)
- Wrenches (usually 8mm or 10mm)
- Clear tubing
- A clean container for old brake fluid
- A syringe or turkey baster
- A clean rag or paper towels
- Safety glasses and gloves
Step-by-Step Guide to Changing Brake Fluid
1. Prepare Your Bike
First things first, park your bike on a level surface and ensure it’s stable, using a center stand if available. Turn off the ignition and remove the key to prevent any accidental starts.
2. Locate the Brake Fluid Reservoir
The brake fluid reservoir is typically located near the handlebars for the front brakes and near the rear wheel for the rear brakes. Consult your bike’s manual if you’re unsure of the exact location.
3. Remove the Old Brake Fluid
Using a syringe or turkey baster, remove as much old brake fluid from the reservoir as possible. Be careful not to spill any fluid on your bike’s paint, as brake fluid is highly corrosive.
4. Clean the Reservoir
Wipe the inside of the reservoir with a clean rag or paper towels to remove any debris or residue. Ensure the area around the reservoir is clean to prevent contamination.
5. Refill with New Brake Fluid
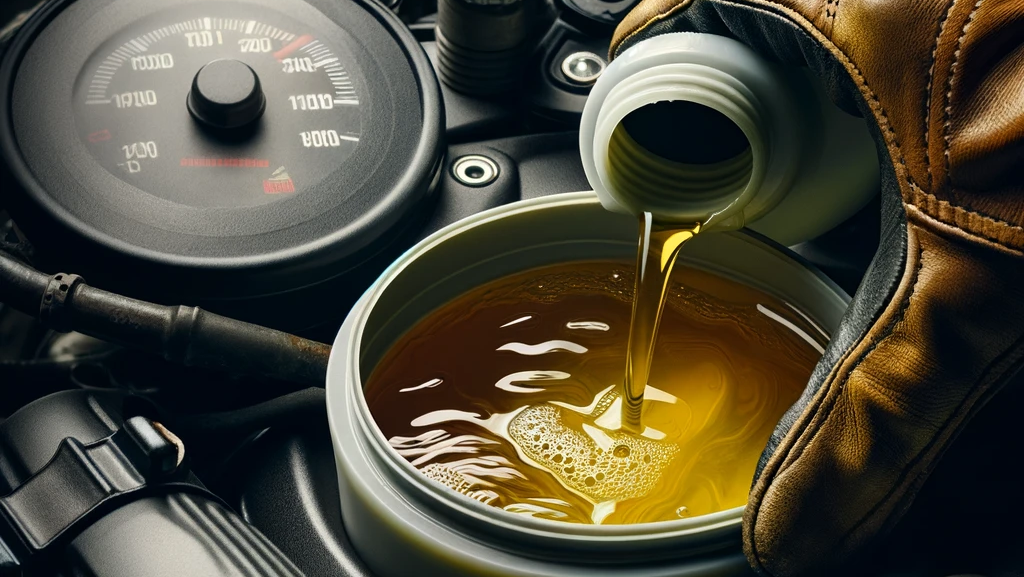
Pour the new brake fluid into the reservoir until it reaches the recommended level. Be sure to use the type of brake fluid specified in your bike’s manual.
6. Bleed the Brakes
Now it’s time to bleed the brakes to remove any air bubbles from the system. Here’s how:
- Attach the clear tubing to the brake bleeder valve located on the brake caliper.
- Place the other end of the tubing into a clean container.
- Loosen the bleeder valve with a wrench.
- Slowly squeeze the brake lever (for front brakes) or pedal (for rear brakes) and hold it down.
- Tighten the bleeder valve and then release the brake lever/pedal.
- Repeat this process until you see clear, bubble-free brake fluid flowing through the tubing.
7. Top Off the Brake Fluid
After bleeding the brakes, check the fluid level in the reservoir and top it off if necessary. Ensure it’s at the correct level according to your bike’s manual.
8. Secure the Reservoir Cap
Once you’re satisfied with the brake fluid level, securely replace the reservoir cap. Make sure it’s tight to prevent any leaks.
9. Test the Brakes
Before you hit the road, test the brakes by squeezing the brake lever or pressing the pedal several times. The brake lever/pedal should feel firm, not spongy. If it feels spongy, there may still be air in the system, and you’ll need to repeat the bleeding process.
10. Dispose of the Old Brake Fluid
Properly dispose of the old brake fluid by taking it to a local recycling center or automotive shop. Never pour brake fluid down the drain or on the ground.

