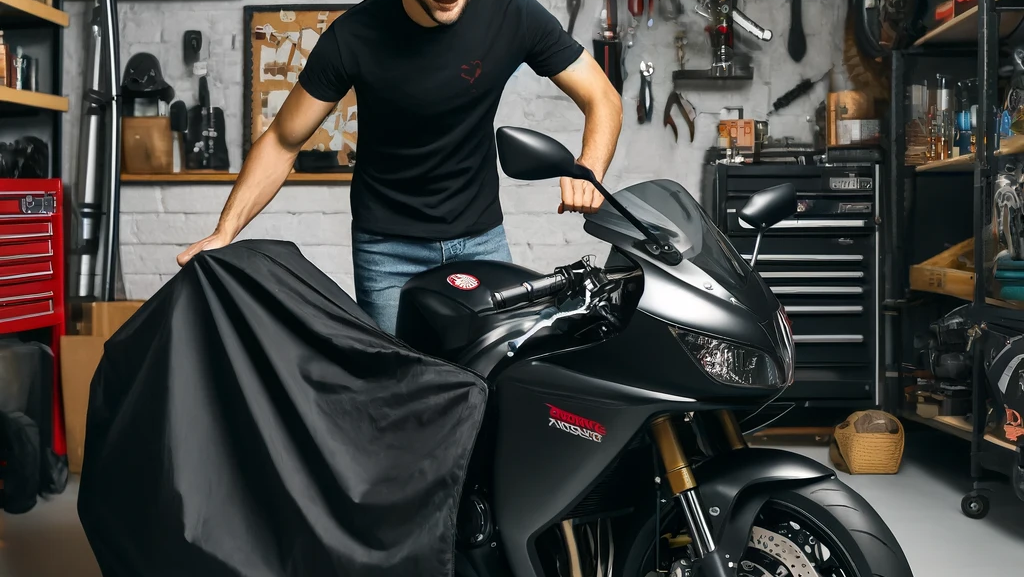
Getting your motorbike back on the road after a long period of inactivity can seem daunting. Whether it’s been gathering dust in the garage or stored away for the winter, here’s a comprehensive guide to ensure your bike is road-ready once again.
1. Initial Inspection
First things first, give your bike a thorough visual inspection. Look for any obvious signs of damage or wear and tear. Check for leaks, rust, or any loose parts. Make sure nothing looks out of place or overly worn.
2. Check Fluids
Fluids are the lifeblood of your motorbike. Over time, they can degrade or evaporate. Here’s what you need to check:
- Engine Oil: Check the oil level and its condition. If it’s dark and thick, it’s time for an oil change.
- Brake Fluid: Ensure the brake fluid is at the proper level. Low brake fluid can be dangerous.
- Coolant: If your bike is liquid-cooled, check the coolant level and top it up if necessary.
- Fuel: Stale fuel can cause a lot of problems. If your bike has been sitting for months, consider draining the old fuel and refilling with fresh fuel.
3. Battery Maintenance
The battery is one of the most common issues after a long hiatus. Here’s what to do:
- Check the Battery Charge: Use a multimeter to check the voltage. If it’s low, you may need to charge it.
- Inspect for Corrosion: Clean any corrosion from the terminals using a mixture of baking soda and water.
- Replace if Necessary: If the battery doesn’t hold a charge, it might be time for a new one.
4. Tire Inspection
Tires can lose air pressure and develop flat spots over time. Here’s what to look for:
- Tire Pressure: Use a tire gauge to check the pressure and inflate to the manufacturer’s recommended levels.
- Tire Condition: Inspect for any cracks, flat spots, or excessive wear. Replace if necessary.
5. Brake System Check
Brakes are crucial for safety. Here’s how to ensure they’re in good working order:
- Brake Pads: Check the thickness of the brake pads. If they’re worn down, replace them.
- Brake Discs: Look for any warping or excessive wear on the brake discs.
- Brake Lines: Ensure there are no leaks or cracks in the brake lines.
6. Chain and Sprockets
The chain and sprockets need to be in good condition for smooth riding. Here’s what to do:
- Chain Tension: Ensure the chain has the correct tension. A loose or too-tight chain can cause problems.
- Lubrication: Clean and lubricate the chain.
- Sprocket Condition: Inspect the sprockets for any signs of wear and replace if needed.
7. Electrical System Check
The electrical system includes all the lights, horn, and indicators. Make sure everything is working properly:
- Lights: Check the headlights, taillights, and indicators.
- Horn: Ensure the horn is working.
- Wiring: Inspect for any damaged or frayed wires.
8. Air Filter
A clean air filter ensures your engine gets the right amount of air. Here’s what to check:
- Condition: If the air filter is dirty or clogged, clean or replace it.
9. Test Ride
After completing all the checks, take your bike for a short test ride. Pay attention to how it feels and sounds. Here’s what to monitor:
- Braking: Make sure the brakes are responsive.
- Handling: Check the bike’s handling and stability.
- Engine Performance: Listen for any unusual noises and ensure smooth acceleration.
10. Regular Maintenance Schedule
Now that your bike is back on the road, keep up with regular maintenance to avoid future issues. Here’s a quick maintenance checklist:
- Oil Changes: Every 3,000 to 5,000 miles.
- Brake Check: Every ride.
- Tire Pressure: Every ride.
- Chain Lubrication: Every 500 miles or after riding in wet conditions.

