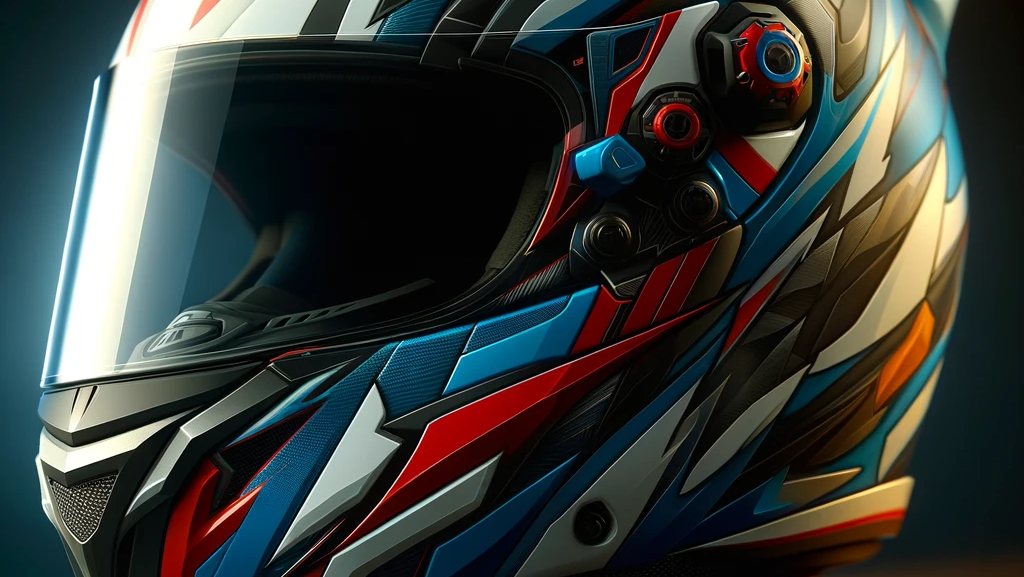
Ever thought about designing your own helmet? Whether for biking, motorcycling, or extreme sports, a personalized helmet not only showcases your style but also ensures a perfect fit and enhanced safety. This guide will walk you through the process, from selecting materials to adding unique designs, making your helmet truly one-of-a-kind.
Why Design Your Own Helmet?
Designing your own helmet is more than just a fun project. It’s about merging style with safety, ensuring that your headgear is both protective and reflective of your personality. Here are some compelling reasons to design your own helmet:
- Personalization: Express your unique style with custom colors, graphics, and finishes.
- Perfect Fit: Custom helmets can be tailored to the exact shape and size of your head, offering better comfort and protection.
- Enhanced Safety: By choosing high-quality materials and construction methods, you can ensure your helmet exceeds safety standards.
Materials and Tools You’ll Need
Before you start designing, gather the necessary materials and tools. Here’s a list to get you started:
Materials:
- Helmet Base: Choose a high-quality helmet that meets safety standards.
- Paint: Acrylic or spray paint for base colors and designs.
- Protective Coating: Clear varnish or epoxy to seal and protect your design.
- Decals and Stickers: Custom decals for intricate designs.
- Padding and Liners: For comfort and additional safety.
Tools:
- Sandpaper: To prep the helmet surface.
- Painter’s Tape: For clean lines and masking areas.
- Brushes and Sponges: Various sizes for different detailing.
- Cutting Tools: Precision knives for decals and stickers.
- Measuring Tape: For accurate placement of designs.
Step-by-Step Guide to Designing Your Helmet
1. Select a High-Quality Helmet Base
Start with a helmet that already meets safety standards. It’s crucial to choose a helmet designed for your specific activity, whether it’s biking, motorcycling, or skateboarding.
2. Prepare the Surface
Use sandpaper to gently roughen the helmet’s surface. This helps the paint adhere better. Clean the helmet thoroughly after sanding to remove any dust and debris.
3. Plan Your Design
Sketch your design ideas on paper before applying them to the helmet. Consider the color scheme, graphics, and any text you want to include. Use painter’s tape to outline areas and create clean lines.
4. Apply the Base Coat
Start with a base coat of paint. Spray paint is often the best choice for even coverage. Apply several thin layers, allowing each layer to dry completely before adding the next.
5. Add Details
Once the base coat is dry, add your custom designs using brushes or decals. For intricate patterns, stencils can help maintain precision. Be patient and take your time to avoid mistakes.
6. Seal the Design
After your design is complete and fully dry, apply a clear protective coating. This will protect your artwork from scratches and weather damage. Epoxy resin can provide a durable, glossy finish.
7. Customize the Interior
For maximum comfort, consider adding extra padding or replacing the existing liners. Ensure that any modifications do not compromise the helmet’s fit or safety.
Safety Considerations
While personalization is exciting, safety should never be compromised. Here are some tips to keep in mind:
- Follow Safety Standards: Ensure your base helmet meets industry safety standards.
- Avoid Weakening the Structure: Do not sand or paint over critical structural areas like straps and buckles.
- Check Fit Regularly: Make sure the helmet still fits properly after modifications.
- Test the Helmet: Wear the helmet and check for comfort and visibility before using it in real scenarios.
Show Off Your Custom Helmet
Once your helmet is complete, share your creation with the world! Take photos, write a blog post, or share on social media. You might inspire others to create their own custom helmets.

