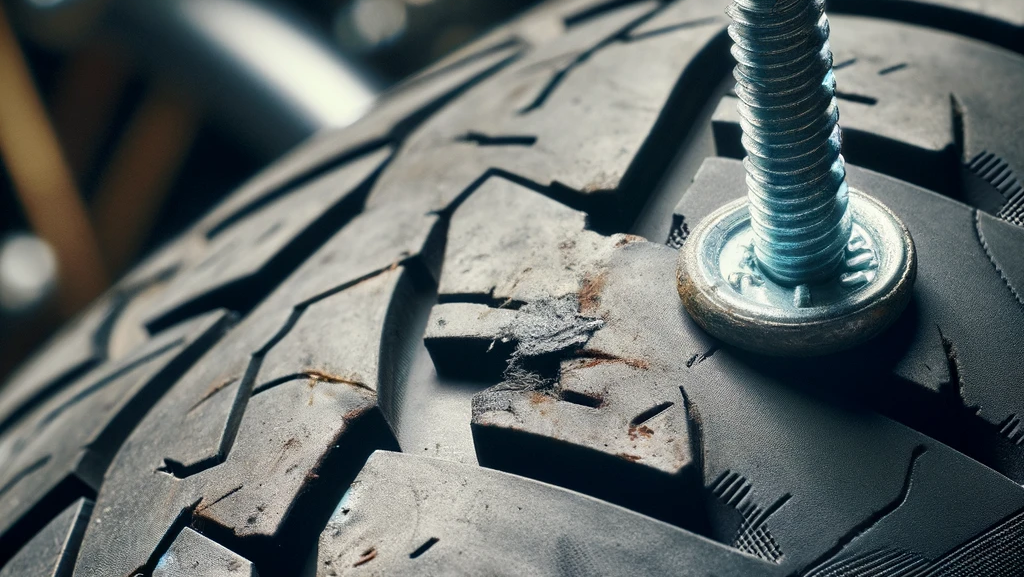
Flat tires can happen to anyone at any time, often when least expected. Knowing how to handle this common roadside emergency can save you a lot of time, stress, and potentially money. This guide will walk you through the steps to fix a flat tire by the roadside, ensuring you’re prepared for any eventuality.
Tools You’ll Need
Before hitting the road, make sure you have these essential tools in your vehicle:
- Spare tire (properly inflated)
- Car jack
- Lug wrench
- Tire pressure gauge
- Reflective triangles or flares
- Flashlight with extra batteries
- Gloves
Step-by-Step Guide to Fixing a Flat Tire
1. Find a Safe Location
When you realize you have a flat tire, don’t panic. Slow down gradually and look for a safe spot to pull over. Ideally, find a flat, straight section of road away from traffic. Turn on your hazard lights to alert other drivers.
2. Secure Your Vehicle
Once you’re safely off the road, engage the parking brake to prevent your car from rolling. Place reflective triangles or flares a few feet behind your vehicle to increase visibility, especially at night or in low-light conditions.
3. Remove the Hubcap or Wheel Cover
Using the flat end of your lug wrench, carefully pry off the hubcap or wheel cover if your car has one. Set it aside where it won’t roll away or get lost.
4. Loosen the Lug Nuts
Using the lug wrench, turn the lug nuts counterclockwise. Don’t remove them completely just yet; just break the resistance. It might take some effort, so use your body weight if necessary.
5. Lift the Vehicle with the Jack
Consult your vehicle’s manual to find the proper jacking point, typically located behind the front wheels or in front of the rear wheels. Position the jack under the jacking point and raise the car until the flat tire is about six inches off the ground.
6. Remove the Lug Nuts and Flat Tire
Finish unscrewing the lug nuts and remove them completely. Keep them in a safe place as you’ll need them again. Carefully pull the flat tire off the car and set it aside.
7. Mount the Spare Tire
Align the spare tire with the lug bolts and push it onto the hub. Hand-tighten the lug nuts to hold the tire in place.
8. Lower the Vehicle
Slowly lower the car back to the ground using the jack. Once the tire is in full contact with the ground, remove the jack.
9. Tighten the Lug Nuts
With the car back on the ground, use the lug wrench to tighten the lug nuts in a star pattern. This ensures even pressure on the wheel. Tighten each nut a little at a time until they are all secure.
10. Replace the Hubcap or Wheel Cover
If you removed a hubcap or wheel cover, put it back on the spare tire.
11. Check the Tire Pressure
Using a tire pressure gauge, check the spare tire’s pressure to ensure it’s safe for driving. Refer to your vehicle’s manual for the recommended pressure.
12. Clean Up and Continue Your Journey
Collect all your tools, the flat tire, and any other items you used. Double-check that nothing is left behind, then get back on the road safely. Remember, spare tires are usually temporary solutions, so head to a tire repair shop as soon as possible.
Tips for Preventing Flat Tires
- Regularly check your tire pressure.
- Inspect your tires for wear and damage.
- Avoid driving over potholes and debris.
- Rotate your tires as recommended by your vehicle’s manufacturer.

